
There are no products in your shopping cart yet.
The use of ND filters in portrait photography
With portrait photography you usually want to have control over the lighting of the subject. ND filters are primarily intended to reduce the amount of light entering the camera lens without affecting the colors or hue of the light. They are used in situations where there is too much ambient light. Instead of using an ND filter, it is more common to use other techniques to control the exposure.
- Aperture: By changing the aperture you can influence the amount of light entering the lens.
- Shutter speed: By adjusting the shutter speed, you can control the amount of time the light hits the sensor.
- ISO setting: Adjusting the ISO value affects the sensor's sensitivity to light.
But…using ND filters in portrait photography can produce some creative effects that improve the composition and aesthetics of your photos. Here are a few creative effects you can achieve with ND filters.
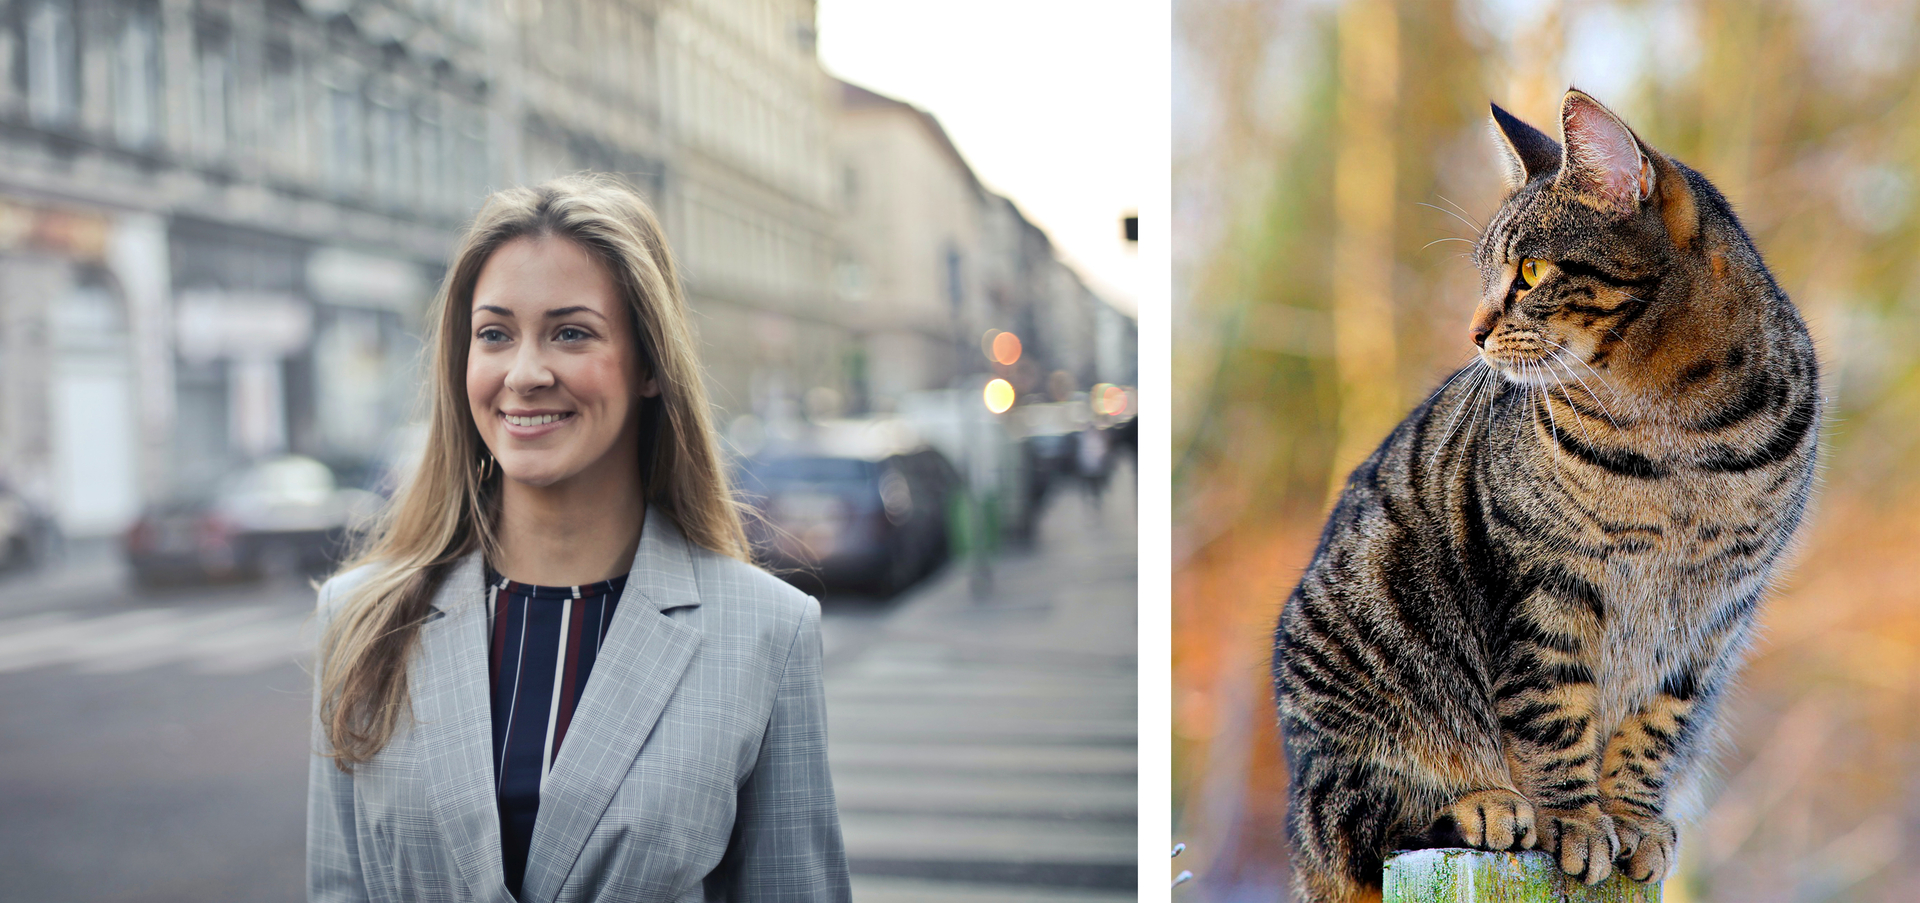
Blurred background with wide open aperture: An ND filter can help you shoot with a wide open aperture (small f-number) in bright light. This allows you to create a blurred background (bokeh), which makes the subject stand out better and draws the viewer's attention to the face.
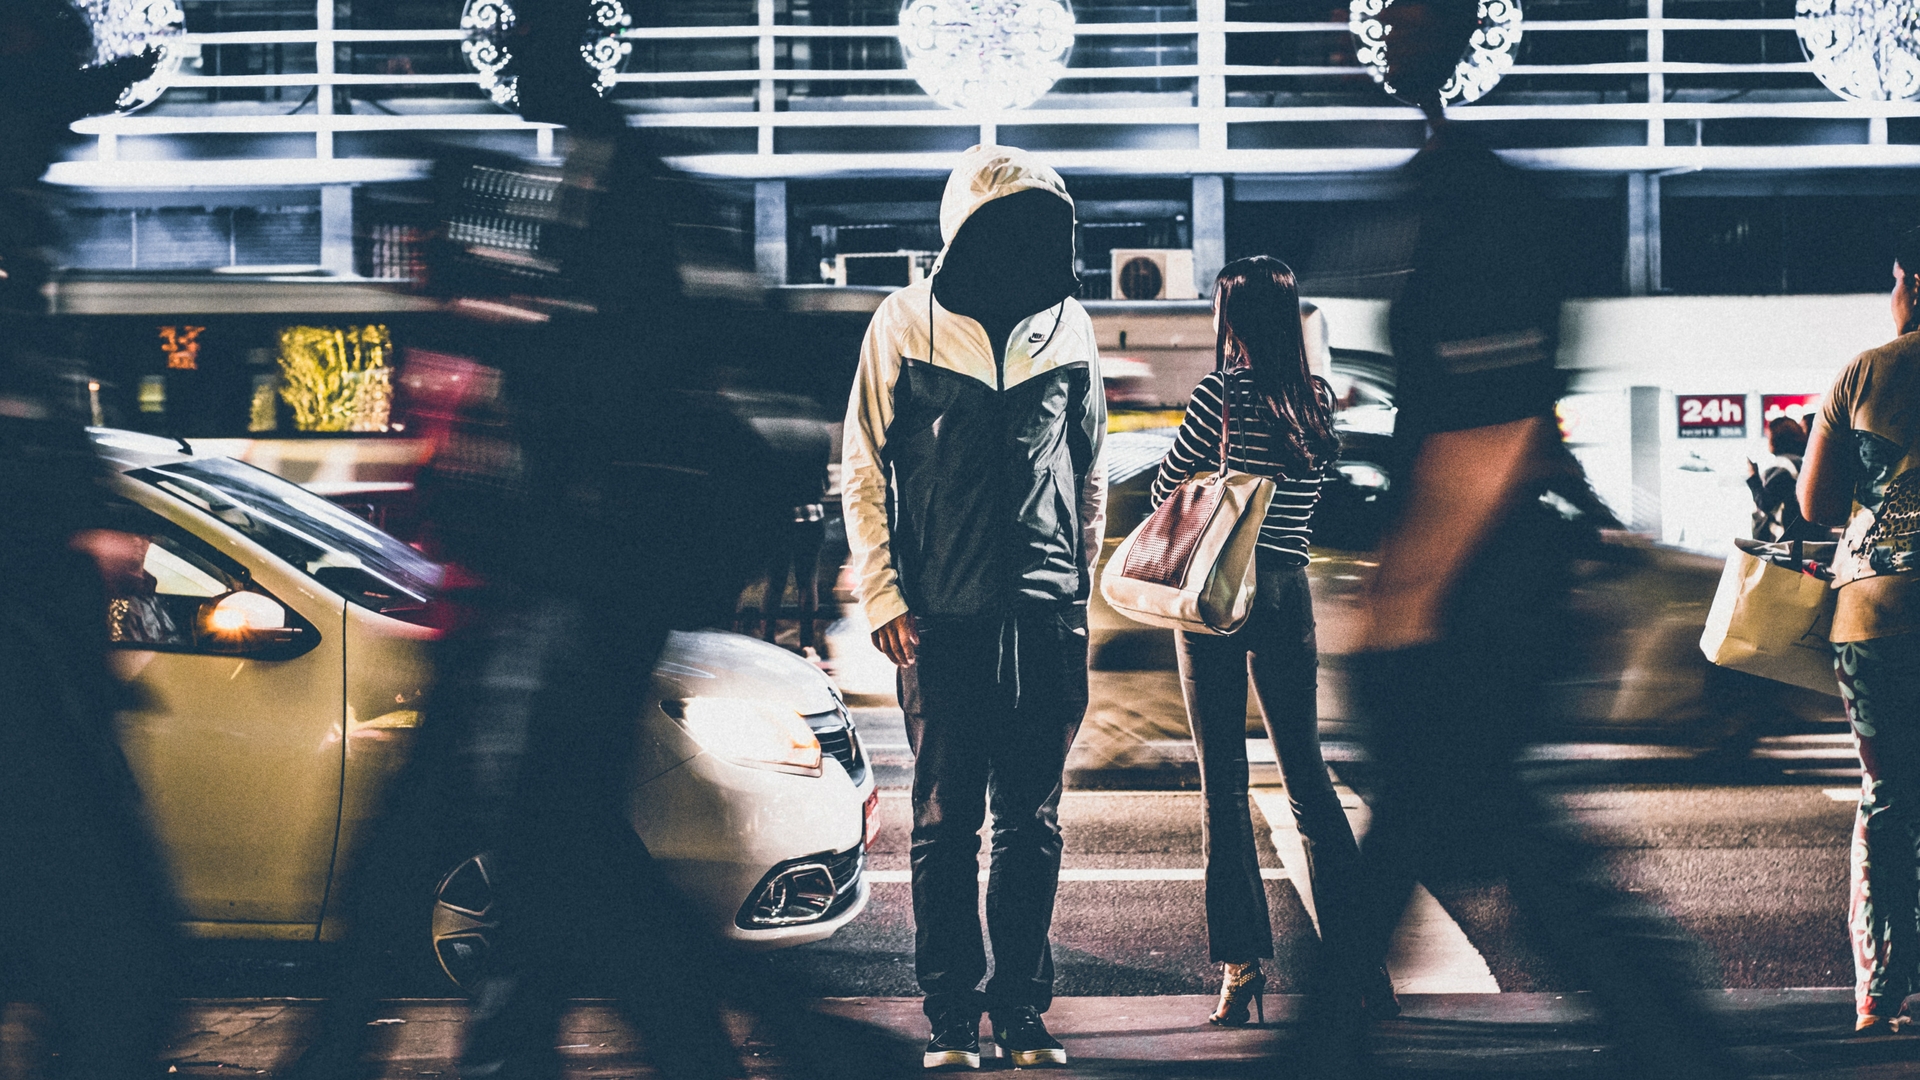
Slow shutter speeds in bright light: If you want to take portraits outdoors in bright sunlight, an ND filter can allow you to use slower shutter speeds without causing overexposure. With a slower shutter speed you can create motion blur in the background, while the subject remains sharp.
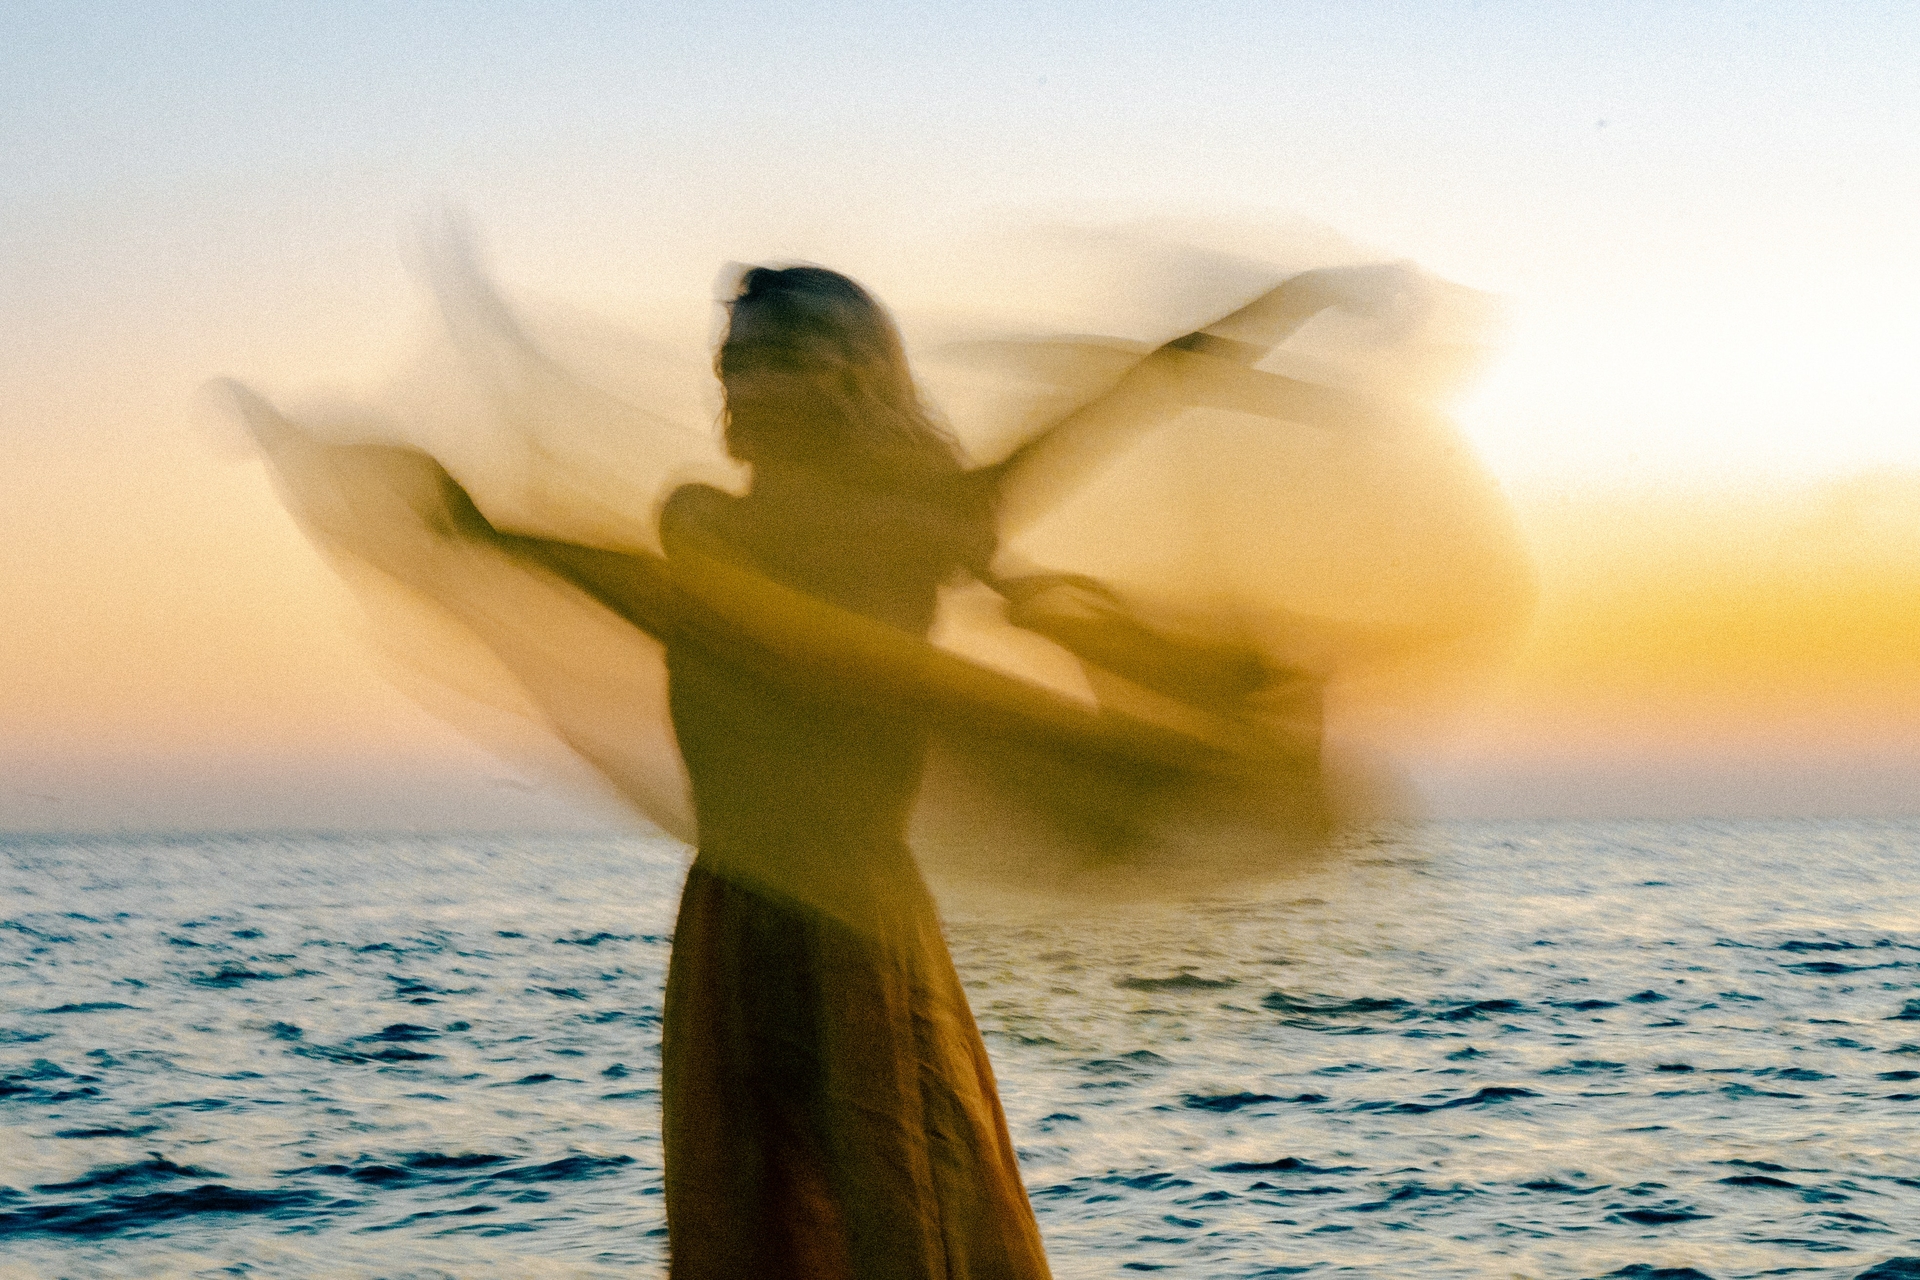
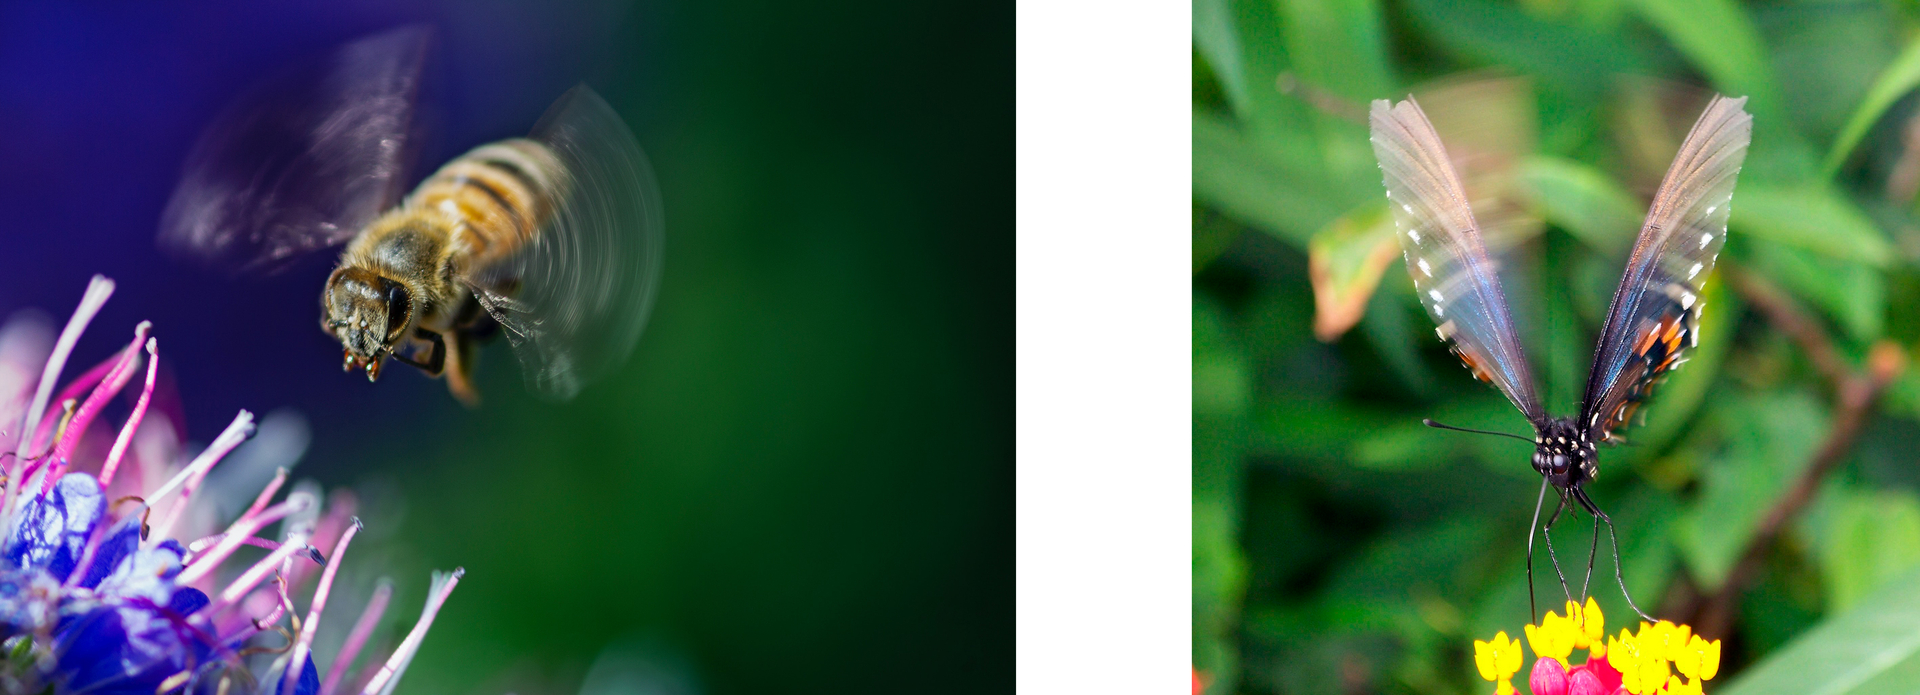
Creative motion: By using an ND filter and shooting at longer shutter speeds, you can create deliberate motion effects. For example, you can ask the model to slowly move his/her head, resulting in an interesting motion blur, while the rest of the scene remains stable.
Water softening: If you're taking portraits near water sources, such as a fountain or stream, an ND filter can help soften the reflection of the water and create a dreamy atmosphere.

Flash in daylight: In situations where you want to flash in daylight, but still want to use a wide open aperture to get a shallow depth of field, an ND filter can help you balance the exposure between the flash light and the ambient light.
Flash in the studio: ND filters can also come in handy here. For example, if you take photographs with your prime lens of 50mm f1.2, your photo will quickly be overexposed, even if you have a shutter speed of 1/8000 sec. there are even cameras that only go up to 1/4000 sec, so then you have a problem. If you place a 3-stop ND filter on your lens, you can still photograph with your large aperture of f1.2 without overexposing.
It's important to note that using ND filters for portrait photography requires some experimentation to find the right balance between the exposure, depth of field, and other creative effects you want to achieve. Be prepared to play with different settings and filters to achieve the desired result.
What types of ND filters are suitable?
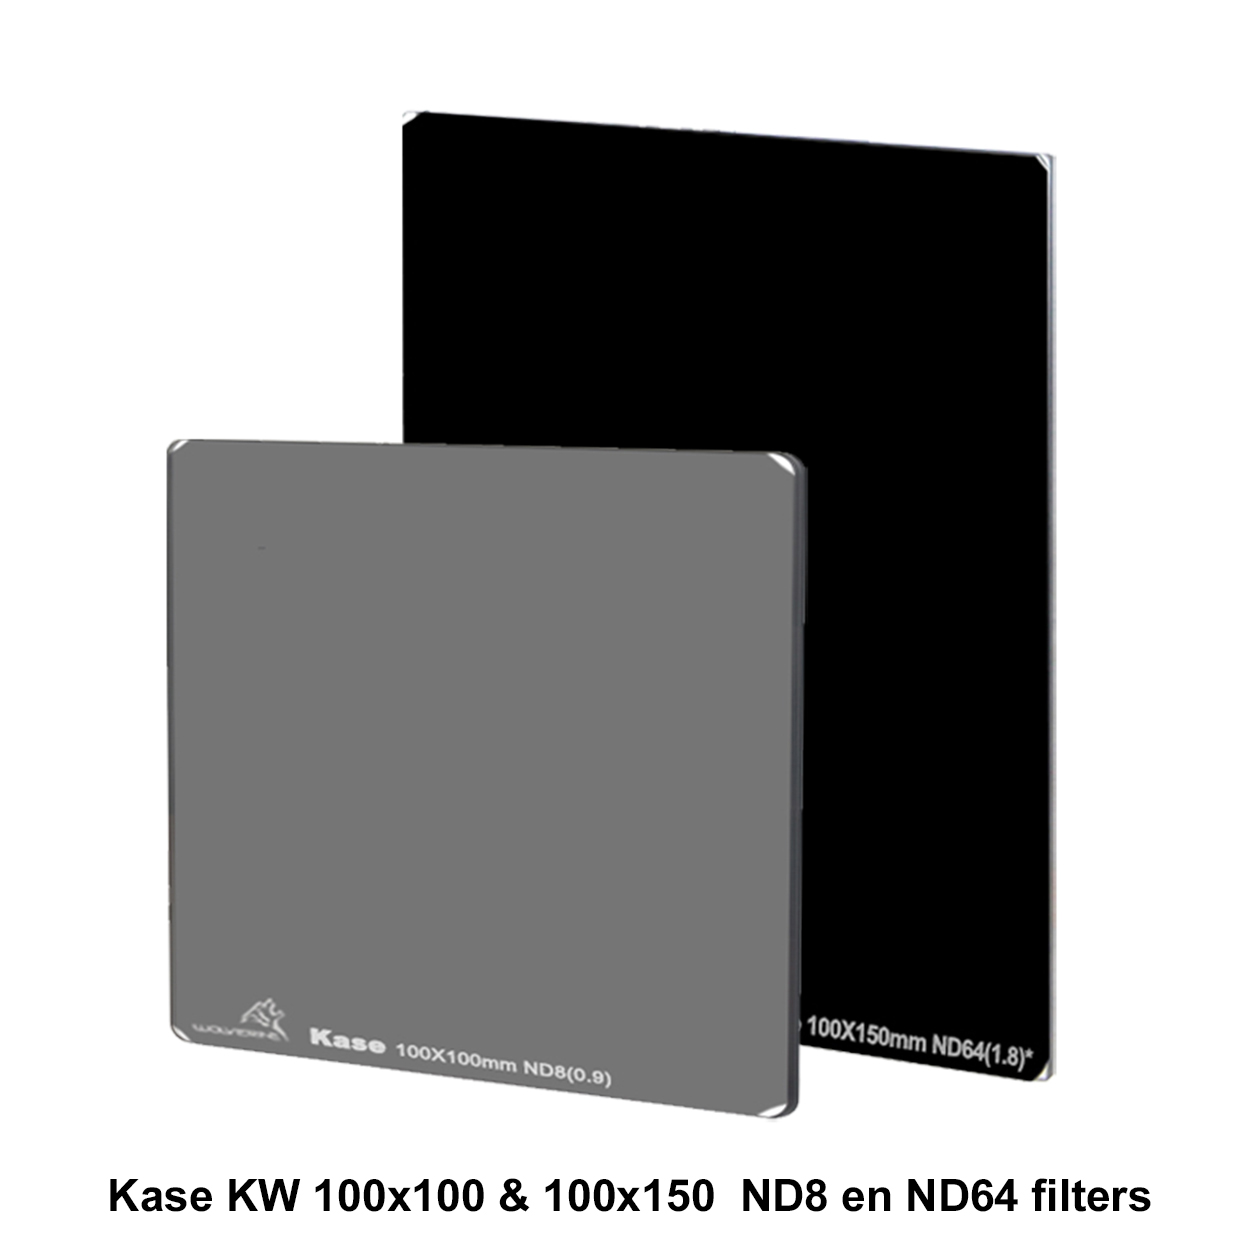
The most commonly used ND filters for portrait photography are the 3 stops and the 6 stops ND filters, because they can provide a good balance in your light reduction. They reduce the amount of light that enters your camera, so that you can continue to photograph with a wide open aperture without overexposure. This way you can create a nicer depth of field.
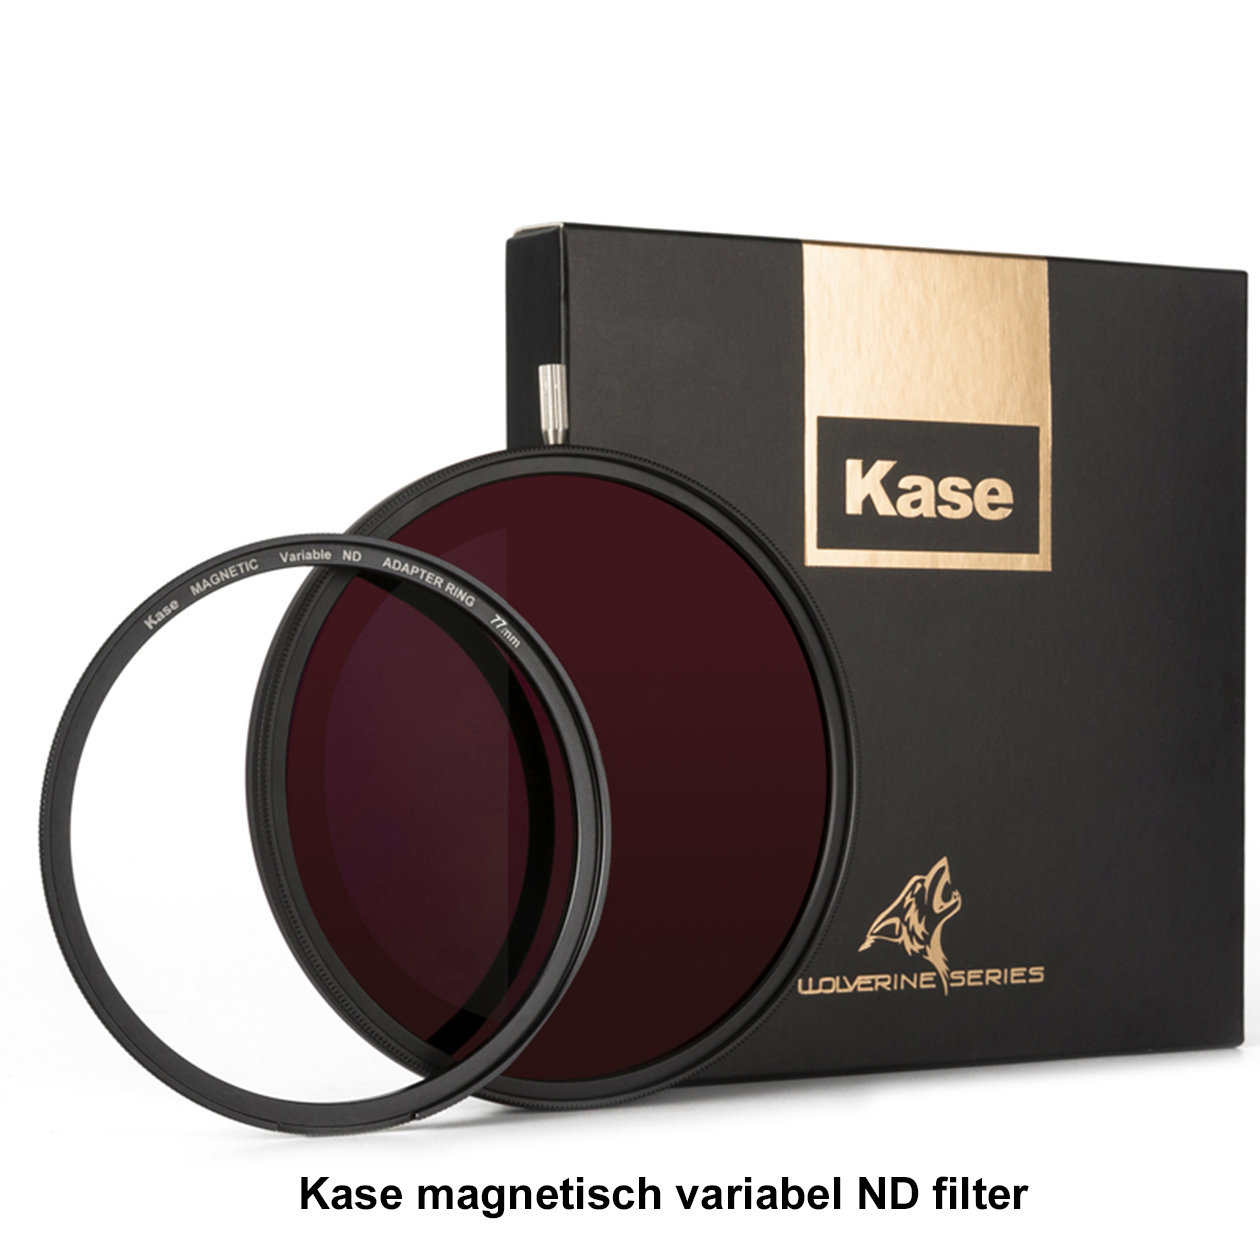
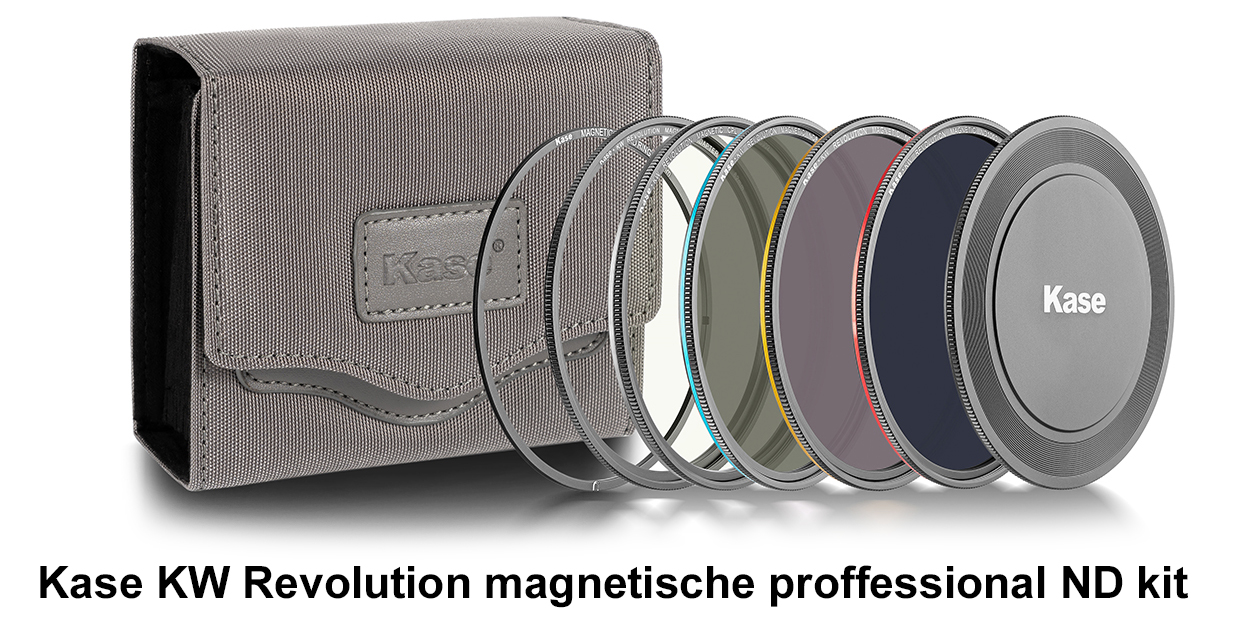
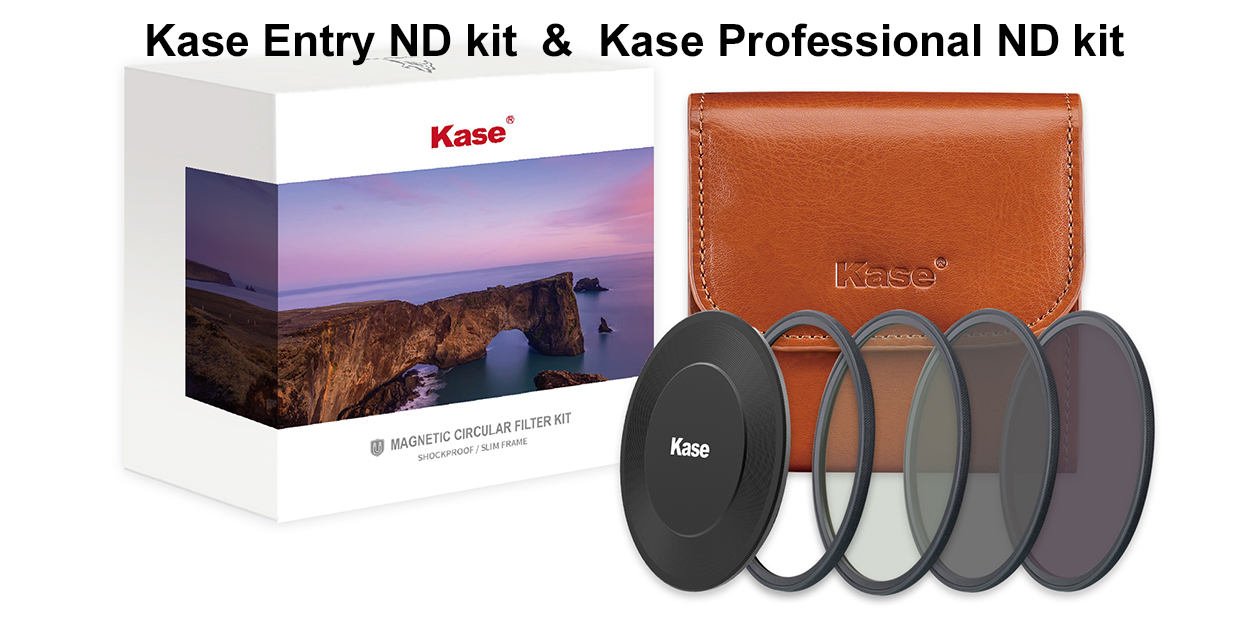
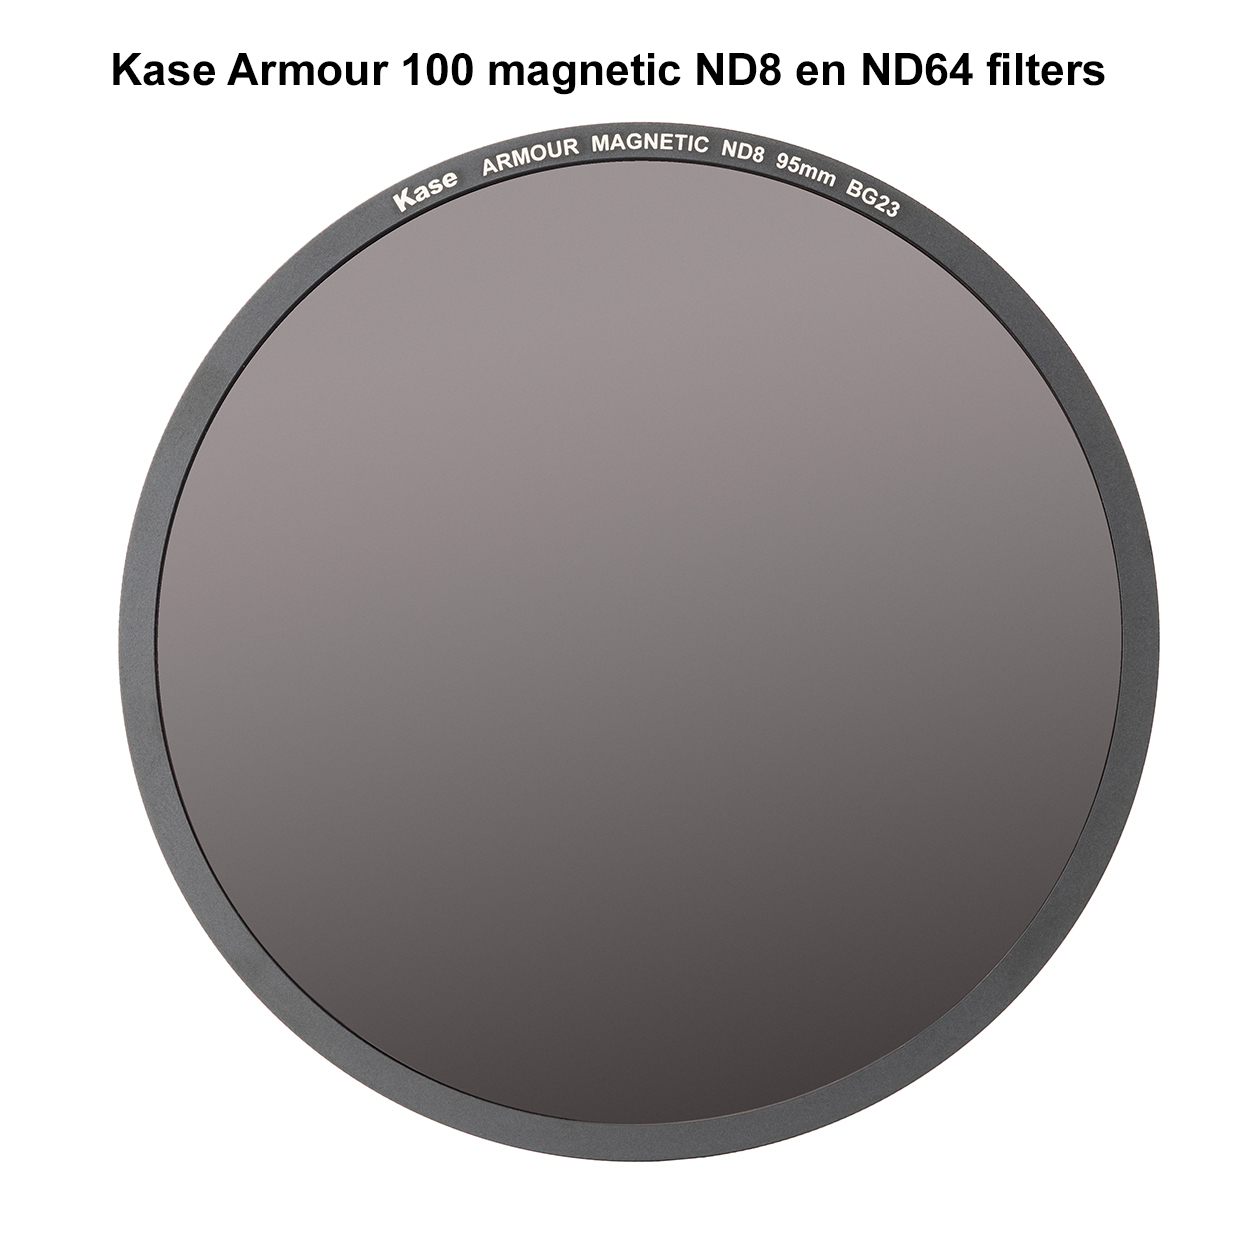
An ND8 filter is a 3 stop filter and an ND64 filter is a 6 stop filter, both are available for all our filter systems, such as

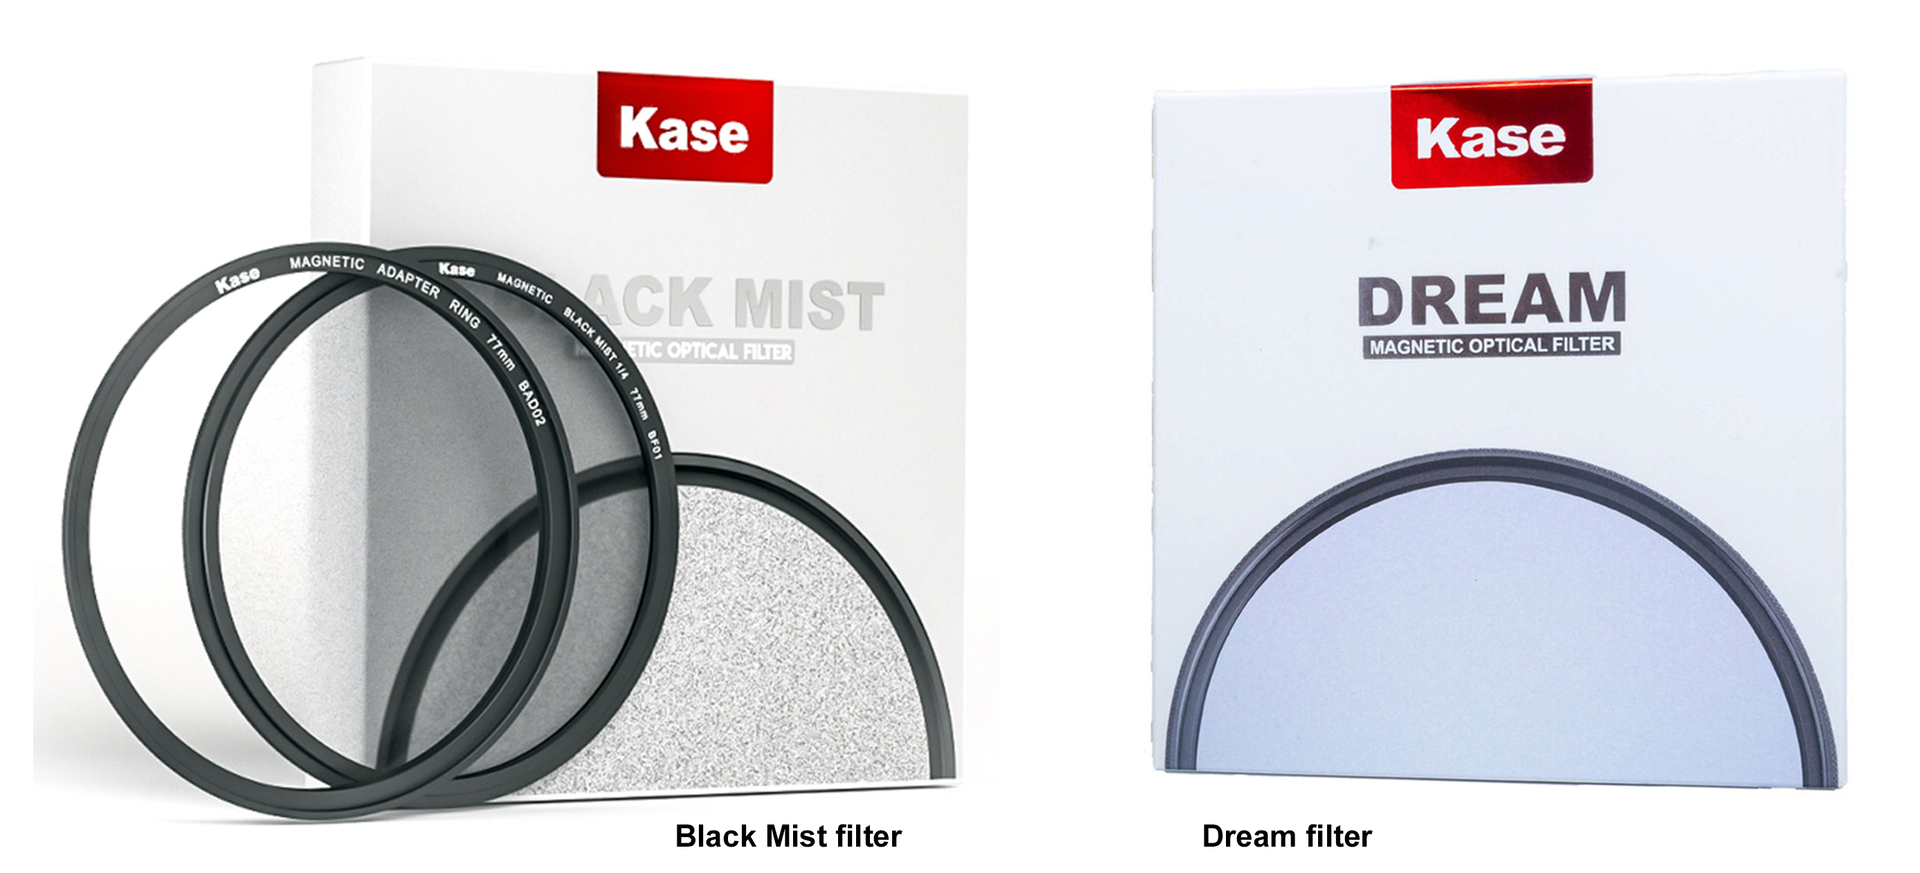
In addition to all ND filters, there are also a few effect filters, such as the Dream filter and the Black mist filter, which can provide a particularly soft effect in portrait photography without affecting the sharpness.
Which ND filter is the right choice?
An ND8 filter is suitable for achieving a slight reduction in light and an ND64 filter is ideal for blocking bright sunlight. Once you have placed an ND filter, first manually adjust your settings on your camera for the best result. It is best to start with the ISO value as low as possible, to prevent noise, and then adjust the shutter speed and aperture. In a portrait it is important to keep the eyes sharp, so pay close attention to this, even if the shutter speeds become slower. First make test recordings and adjust your settings or filter choice if necessary. Be willing to experiment to find the best settings for your specific situation.
Photography is fun and above all, be creative!
Comments (0)
No comments found.